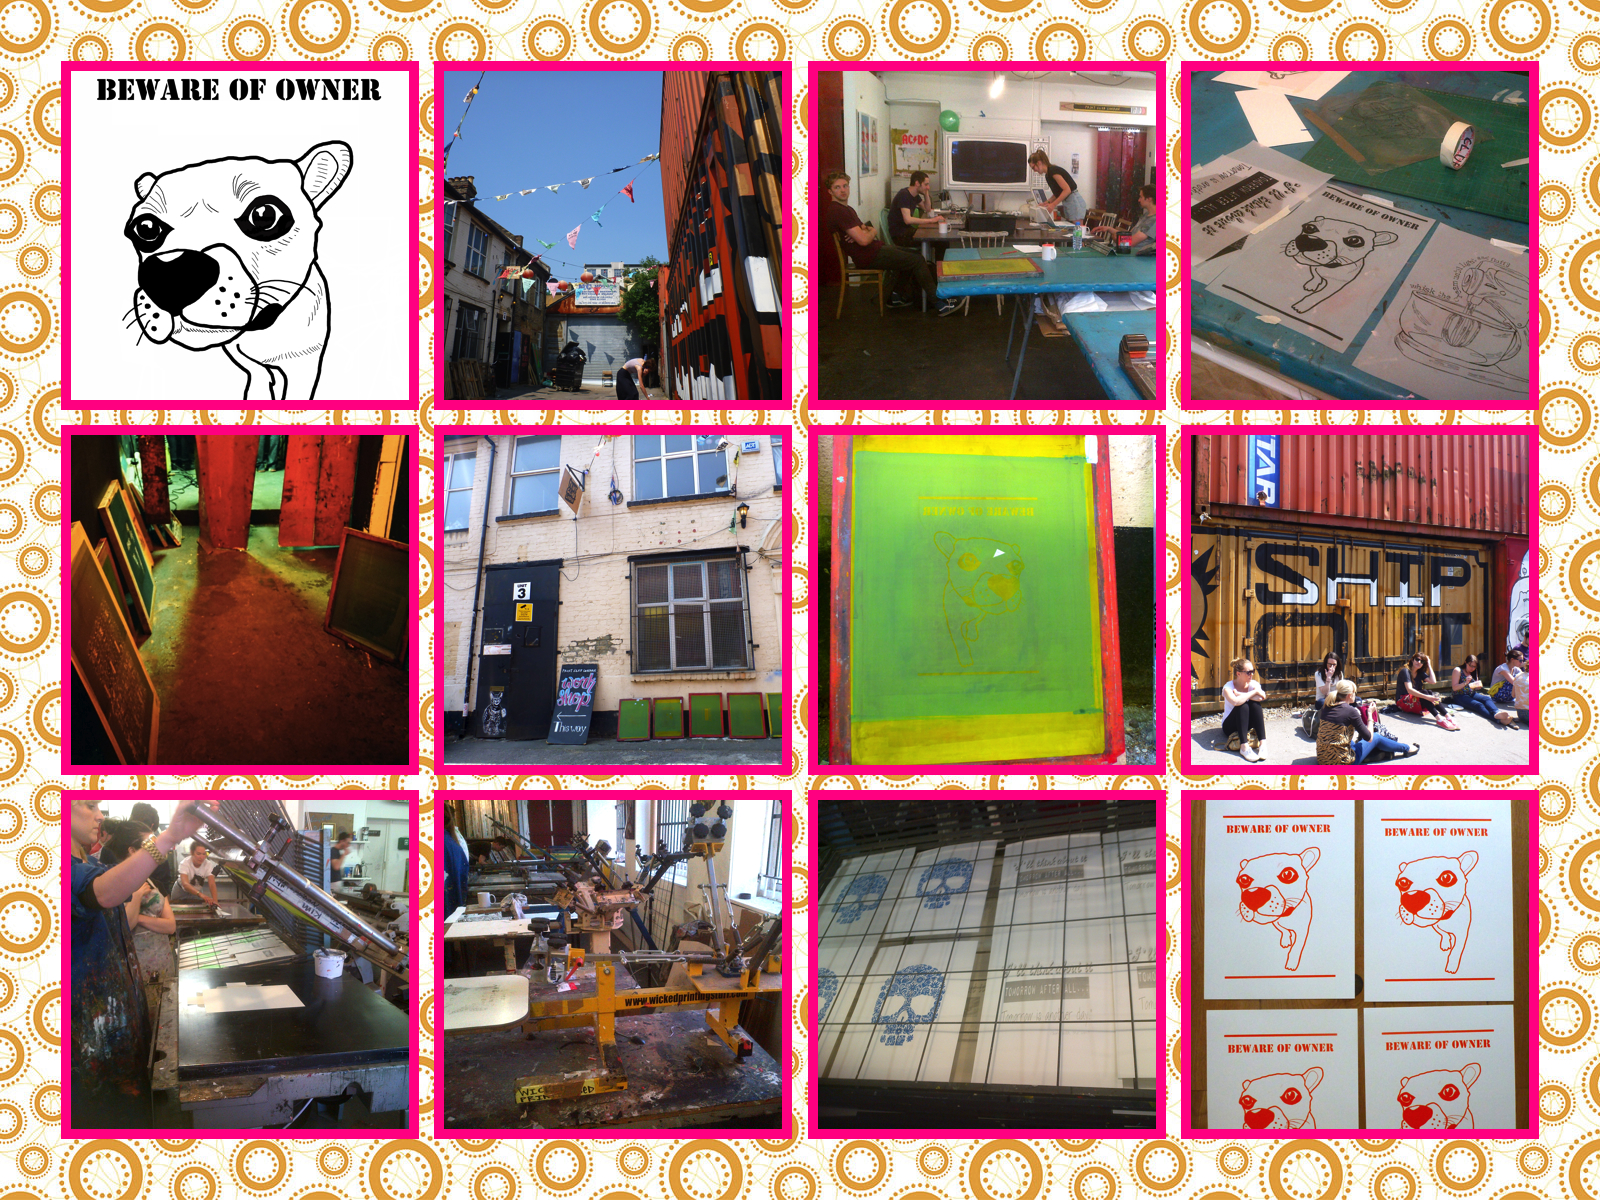
I spent my day yesterday at Print Club London learning how to silkscreen print on paper. I found them online and decided to book a session for GBP 50. The workshop ran from 11am to 4pm. It’s a class for beginners. A full day with an hour lunch break.
In the morning, we met the team and the other students. About 10 in all. We had to bring our black and white design on a USB drive so that they could print it out on tracing paper for us. They talked us through the process, demonstrated it and let us all have a go.
Screen print process (one colour):
Step 1: Print design onto tracing paper
Step 2: Make sure design is printed correctly. If any black outlines are missing, we could fill in with a china black crayon.
Step 3: Take a silkscreen frame and coat with photo sensitive emulsion with a trough, in the dark room and leave to dry.
Step 4: Take your tracing paper with your design printed and place it on top of the exposure unit. Place the silk screen panel over it and close the cover of the exposure unit. The silk screen panel will be exposed to light and the light sensitive emusion coat exposed to light will change colour.
Step 5: Take the silkscreen frame and wash it with a water jet to remove all the photo sensitive emulsion to expose your design.
Step 6: Let the silkscreen frame dry out completely
Step 7: Take your design on tracing paper and place it on top of the paper you want to print on. Align it as you like and use masking tape to fix in position
Step 8: Choose the colour you want to print with. I felt summery and chose orange.
Step 9: Secure your silkscreen panel to the silk screen bed
Step 9: Place your tracing paper/print paper design underneath the silkscreen panel and align the position where you want to print on the paper. Place markings along the edge of the paper, on the silk screen bed, so you know where to position the paper for the next print.
Step 10: Remove the tracing paper leaving the paper you want to print on underneath the silkscreen
Step 11: Lift the silk screen slightly off the bed. Pour paint onto the bottom edge of the silk screen and flood the silk screen with paint. This is done by using a squeegee, lightly pushing the paint to the top edge of the silkscreen covering the whole area evenly with a layer of paint.
Step 12: Lay the silk screen flat on the bed. Using the squeegee, firmly push the paint from the top edge of the silk screen to the bottom of the silk screen edge.
Step 13: Lift the silk screen slightly off the bed and using the squeegee, gently push the paint back up to the top edge of the silk screen.
Step 14: Remove the printed paper underneath and place aside to dry.
Step 15: Place a new sheet of paper on the bed, carefully aligning it to the marked position and repeat the process.
And there you have it! Done!
I was so pleased with my prints. The workshop was awesome! I highly recommend it to everyone to try it. It’s completely fool proof!


Leave a comment